
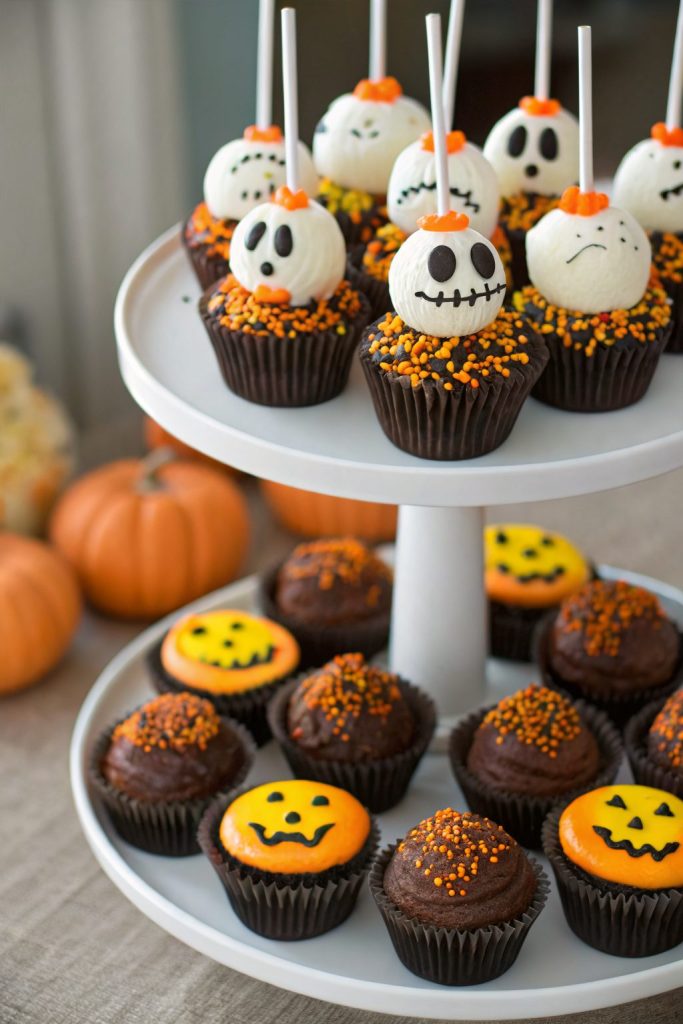
Halloween Cake Pops Recipe hits that perfect mix of fudgy cake center, crisp chocolate shell, and just enough spooky decoration to make kids squeal and adults sneak seconds. This recipe works for busy parents, party hosts, and bake-sale heroes, and you can finish the whole project in about 1 hour 30 minutes if you use a boxed cake mix shortcut. I first made these when my neighbor asked for “something cute but not messy,” and we both laughed when her kids walked around with frosting fangs for the rest of the night.
Why Halloween Cake Pops Recipe Is Worth It
Halloween cake pops pack all the flavor of a rich frosted cake into a fun, bite-size treat on a stick. They travel well, stay moist, and look like you spent way more time on them than you actually did.
You can use leftover cake, a boxed mix, or a bakery cake and still get bakery-style Halloween cake pops. Kids can help with rolling and decorating, and adults can handle the chocolate dipping, so the whole project turns into an easy group activity.
“These Halloween cake pops vanished from the dessert table before the candy did, and everyone asked for the recipe. ★★★★★”
Ingredients You Need
Cake & Binder
- 1 standard 9×13-inch pan chocolate cake, fully cooled
- Use boxed chocolate cake mix if you want a shortcut; I like Duncan Hines or Betty Crocker for consistent texture.
- You can also use vanilla, funfetti, or red velvet cake for different Halloween cake pops looks.
- 1/2 to 3/4 cup frosting
- Store-bought canned frosting works great and saves time.
- Use chocolate, vanilla, or cream cheese frosting; avoid whipped frosting because it turns the mixture too soft.
Coating & Decorations
- 16 oz candy melts or almond bark (white, orange, and dark/black if you find it)
- Candy melts set smoother than regular chocolate and resist melting at room temp.
- Use white candy melts plus oil-based candy coloring if you cannot find orange or green.
- 1–2 tablespoons refined coconut oil or vegetable shortening
- This thins the candy melts and gives a smoother dip.
- Assorted Halloween sprinkles (bats, eyeballs, jimmies, nonpareils)
- Edible candy eyes
- Black decorating gel or edible marker
- Mini chocolate chips (for tiny horns or ears)
- Crushed chocolate cookies or Oreo crumbs (for “dirt” coating)
Equipment
- 30–35 lollipop sticks (6-inch or similar)
- Large mixing bowl
- Forks or clean hands for crumbling cake
- Small cookie scoop or tablespoon measure
- Baking sheet lined with parchment paper
- Styrofoam block or a cardboard box with holes poked in it (to hold pops upright while they set)
- Microwave-safe bowls for melting candy
- Toothpicks for detail work and fixing small coating issues
Quick Tips & substitutions
- Chill the rolled cake balls 20–30 minutes so they hold shape but still allow the stick to go in easily.
- Use only enough frosting to hold the crumbs together; the mixture should feel like play-dough, not like batter.
- If candy melts look too thick, stir in 1 teaspoon coconut oil or shortening at a time until they flow like warm yogurt.
- Use boxed cake and canned frosting when you want Halloween cake pops on a weeknight.
- Swap candy melts with high-quality chocolate chips plus 1 teaspoon shortening per cup if you prefer a less sweet shell.
- If cake pops crack, the cake center likely sat too cold; let the chilled balls rest 5–10 minutes at room temp before dipping.
- Use gluten-free cake mix and gluten-free sprinkles for gluten-free Halloween cake pops.
- Use dairy-free frosting and dairy-free chocolate for a dairy-free version.
How to Make Halloween Cake Pops Recipe
Step 1: Bake and cool the cake
Bake a 9×13-inch cake according to package or recipe directions, then let it cool completely. I usually bake it the night before and cover it once it cools. A fully cooled cake crumbles better and keeps the pops from turning mushy.
Step 2: Crumble the cake
Cut the cake into large chunks and place them in a big mixing bowl. Use clean hands or a fork to crumble the cake into fine, even crumbs with no big pieces. Rub any larger bits between your fingers until the texture feels uniform.
Step 3: Mix in frosting
Add 1/2 cup frosting to the crumbs and mix with your hands or a spatula. Squeeze some of the mixture in your hand; if it holds together without cracking, you nailed the texture. If it feels dry and crumbly, add frosting 1 tablespoon at a time until the mixture feels like soft modeling clay.
Step 4: Shape the cake balls
Use a small cookie scoop or tablespoon to portion the mixture into even mounds. Roll each mound between your palms into a smooth ball about 1 to 1 1/4 inches wide. Place the balls on a parchment-lined baking sheet, spacing them slightly apart.
Step 5: Chill the cake balls
Place the baking sheet in the fridge for 20–30 minutes. The cake balls should feel firm but not rock solid. This step helps them stay on the sticks and hold up to dipping.
Step 6: Melt the candy coating
Place candy melts in a microwave-safe bowl and heat in 20–30 second bursts, stirring between each round. When the candy melts look mostly melted, stir until completely smooth. If the mixture looks thick, stir in 1–2 teaspoons coconut oil or shortening until it flows easily off a spoon.
Step 7: Attach sticks
Dip about 1/2 inch of a lollipop stick into the melted candy, then insert it halfway into a chilled cake ball. The candy acts like glue and helps anchor the stick. Repeat with all cake balls, then chill them another 10 minutes so the “glue” sets.
Step 8: Dip the cake pops
Stir the candy coating again to keep it smooth. Hold a cake pop upside down and dip it straight into the candy, covering it completely. Lift it out and gently tap your wrist or the stick while rotating the pop so excess coating drips off in a smooth layer.
Step 9: Decorate while wet
Add sprinkles, cookie crumbs, or candy eyes while the coating still feels wet. Press decorations gently so they stick without sliding. Place the finished pop upright in a Styrofoam block or box to set.
Step 10: Make simple Halloween designs
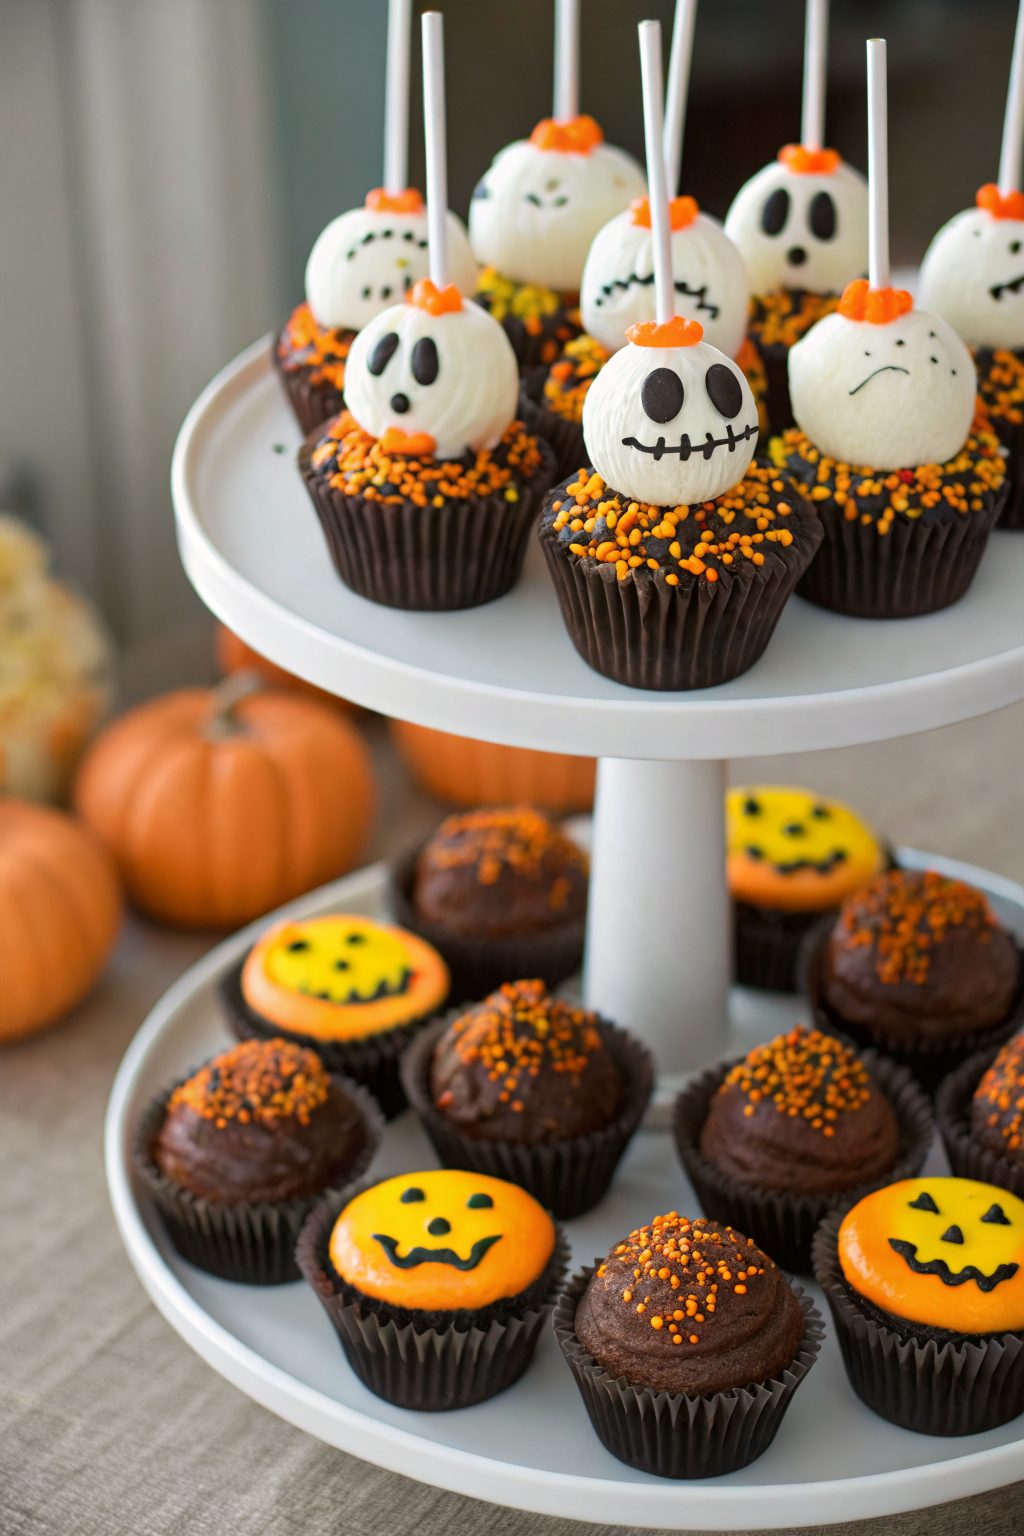
For mummies, dip in white candy, let set, then drizzle thin lines of white coating across and stick on candy eyes. For pumpkins, dip in orange coating, add a green sprinkle or mini chocolate chip on top for a stem, and draw ridges or faces with black gel once set. For monsters, use bright colors, add candy eyes in random spots, and stick mini chips on top as horns.
Step 11: Let them set and serve
Let the Halloween cake pops sit at room temperature until the coating feels completely firm, about 15–20 minutes. If your kitchen runs warm, chill them in the fridge for 10 minutes. Serve them on a platter, in jars filled with candy corn, or stuck into a foam block covered with tissue paper.
Recipe Variations
- Gluten-free: Use gluten-free cake mix, gluten-free frosting, and certified gluten-free sprinkles.
- Vegan: Use vegan cake mix or recipe, dairy-free frosting, and dairy-free chocolate or vegan candy melts.
- Low sugar: Use a reduced-sugar cake mix, light frosting, and dark chocolate coating instead of candy melts.
- Flavors: Try spice cake with cream cheese frosting for “pumpkin patch” pops, or red velvet with white coating for spooky “blood moon” pops.
- Filling twist: Hide a mini candy (like a small chocolate candy or candy-coated chocolate) inside each cake ball before rolling.
Ways to Serve Halloween Cake Pops Recipe
- Arrange them upright in a decorated Styrofoam block as a Halloween cake pops centerpiece.
- Wrap each pop in a small cellophane bag with ribbon and hand them out as party favors.
- Add them to a dessert board with cookies, brownies, and caramel apples.
- Pack them in lunchboxes as a special October treat.
- Set up a “decorate your own cake pop” station with plain dipped pops and bowls of sprinkles and candy eyes.
Storage Success
Store Halloween cake pops in an airtight container at cool room temperature for up to 3 days. If your kitchen runs warm or you used cream cheese frosting, keep them in the fridge and bring them out 15 minutes before serving so the centers soften. Keep them upright if possible so decorations stay neat and the coating does not smudge. Freeze undipped cake balls up to 2 months, then thaw in the fridge and dip fresh when you need a quick Halloween dessert.
Halloween Cake Pops Recipe
Ingredients
Instructions
- Bake a 9x13-inch chocolate cake according to package or recipe directions and let it cool completely.
- Cut the cooled cake into chunks and place them in a large mixing bowl.
- Crumble the cake with your hands or a fork into fine, even crumbs with no large pieces remaining.
- Add 1/2 cup frosting to the crumbs and mix until the mixture holds together like soft modeling clay when squeezed. Add more frosting 1 tablespoon at a time if it feels dry or crumbly.
- Use a small cookie scoop or tablespoon to portion the mixture into even mounds.
- Roll each portion between your palms into a smooth ball about 1 to 1 1/4 inches wide and place on a parchment-lined baking sheet.
- Chill the cake balls in the refrigerator for 20–30 minutes until firm but not rock hard.
- Place the candy melts in a microwave-safe bowl and heat in 20–30 second bursts, stirring between each, until mostly melted and smooth.
- Stir in 1–2 teaspoons coconut oil or shortening as needed until the coating flows smoothly off a spoon, similar to warm yogurt.
- Dip about 1/2 inch of a lollipop stick into the melted candy coating.
- Insert the coated end of the stick halfway into a chilled cake ball so the candy acts as glue.
- Repeat with all cake balls, then chill for another 10 minutes to set the sticks.
- Re-stir the candy coating until smooth. Hold a cake pop upside down and dip it straight into the coating, covering it completely.
- Lift the pop and gently tap your wrist or the stick while rotating so excess coating drips off in a smooth layer.
- While the coating is still wet, add sprinkles, cookie crumbs, candy eyes, or mini chocolate chips, pressing them gently so they stick.
- Stand the dipped pops upright in a Styrofoam block or box to set.
- For mummies, dip pops in white coating and let set. Drizzle thin lines of white coating across each pop and press on candy eyes.
- For pumpkins, dip in orange coating, add a green sprinkle or mini chocolate chip on top for a stem, and draw ridges or faces with black gel once set.
- For monsters, dip in bright colors, add candy eyes in random spots, and press mini chocolate chips on top as horns.
- Let the cake pops sit at room temperature until the coating is completely firm, about 15–20 minutes, or chill briefly if your kitchen is warm.
- Serve on a platter, in jars, or arranged upright in a decorated Styrofoam block.
Notes
Approximate per 1 cake pop (about 1 of 30): 160 calories; fat 8 g; saturated fat 4 g; carbohydrates 22 g; fiber 1 g; sugars 16 g; protein 2 g; sodium 160 mg. Values will vary based on cake mix, frosting, candy melts, decorations, and portion size.
Leave a Reply