

Fall Desserts Apple Recipes hit that perfect cozy spot with warm spices, tender apples, and just enough sweetness to make your kitchen smell like a bakery. They work great for busy home cooks who want a crowd-pleasing dessert in about 1 hour, start to finish. I test apple recipes way more than my family thinks necessary, but no one complains when the third “test batch” of apple crisp comes out of the oven.
Why Make This Fall Desserts Apple Recipes at Home
Homemade fall apple desserts taste fresher, use real ingredients, and fill your house with cinnamon-scented happiness that no store-bought box can match. You control the sugar, the spice level, and the texture, so your apple crisp, apple crumble, or apple cobbler fits your exact preferences.
You also stretch your budget when you bake at home, especially when apples go on sale in fall. A bag of apples, some pantry staples, and basic spices turn into multiple Fall Desserts Apple Recipes that work for weeknights, potlucks, and holidays.
“This apple crisp tasted like a hug in dessert form, with crunchy topping, soft apples, and the perfect level of sweetness. ★★★★★”
Ingredients You Need
Here I focus on a classic, flexible apple crisp recipe that you can spin into several Fall Desserts Apple Recipes like crumble bars or skillet crisp.
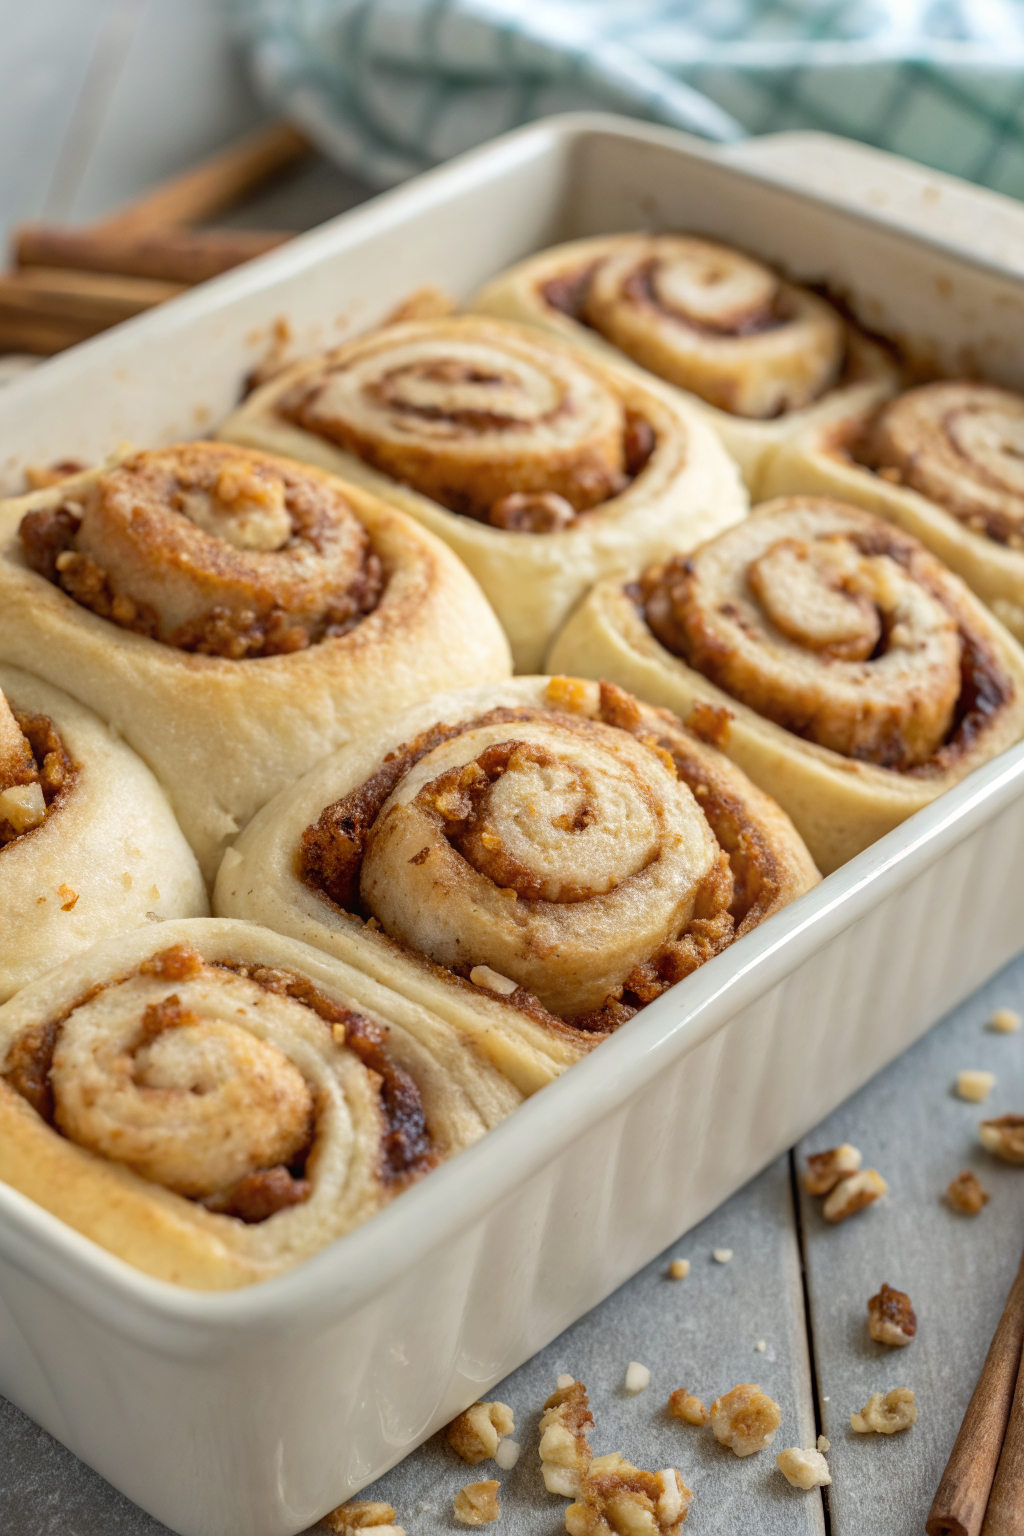
Apples
- 6 to 7 medium apples, about 2 pounds
- Use a mix of tart and sweet: Honeycrisp, Granny Smith, Pink Lady, Fuji, or Gala.
- Mix varieties for deeper flavor and better texture.
- Avoid mealy apples like Red Delicious, since they turn mushy.
Apple Filling
- 2 tablespoons unsalted butter, melted
- 1 teaspoon vanilla extract
- 3 to 4 tablespoons brown sugar, light or dark
- 1 tablespoon lemon juice
- 1 ½ teaspoons ground cinnamon
- ¼ teaspoon ground nutmeg
- ⅛ teaspoon ground cloves or allspice
- 2 tablespoons all purpose flour or cornstarch
- Pinch of fine sea salt
You can swap coconut sugar for brown sugar if you prefer less refined sweeteners. Use gluten free flour or cornstarch to keep the filling gluten free.
Crisp Topping
- 1 cup old fashioned rolled oats
- ¾ cup all purpose flour
- ½ cup brown sugar, packed
- ½ teaspoon ground cinnamon
- ¼ teaspoon fine sea salt
- ½ cup cold unsalted butter, cut into small cubes
- ½ cup chopped nuts, optional
- Pecans or walnuts work best.
- Skip nuts for allergies or use seeds like pumpkin seeds.
You can use quick oats in a pinch, but they soften more and give a less chunky topping. Avoid instant oatmeal packets since they contain extra flavorings and sugar.
Optional Add Ins
- ½ cup raisins, dried cranberries, or chopped dates
- 1 tablespoon maple syrup for deeper flavor
- 1 to 2 tablespoons apple cider for extra apple intensity
Pantry Shortcuts
- Use pre peeled, sliced apples from the produce section if you feel short on time.
- Use bottled lemon juice instead of fresh if needed.
- Use pumpkin pie spice instead of separate spices when your spice drawer feels chaotic.
Equipment List
- 9 by 9 inch baking dish or similar size
- Large mixing bowl
- Medium mixing bowl
- Cutting board and sharp knife
- Vegetable peeler
- Measuring cups and spoons
- Wooden spoon or spatula
- Pastry cutter or clean hands for rubbing in butter
- Oven mitts
- Cooling rack, optional but helpful
Tips & Mistakes
- Slice apples evenly so they cook at the same rate and stay tender, not crunchy.
- Taste a slice of apple and adjust sugar in the filling, since sweeter apples need less sugar.
- Avoid overloading the dish with apples, or the center may stay firm while the top browns too fast.
- Keep butter cold for the topping so it bakes into crisp, crumbly chunks instead of melting into a flat layer.
- Do not overmix the topping; leave some clumps for texture.
- Use a baking dish with enough room at the top so juices bubble without spilling over.
- Place the baking dish on a sheet pan if you worry about drips in the oven.
- Let the crisp rest at least 15 minutes after baking so the juices thicken and slices hold together.
- Do not skip the salt; a tiny pinch makes the apple flavor pop and balances sweetness.
- Store leftovers promptly so the topping stays as crisp as possible and the apples keep their flavor.
How to Make Fall Desserts Apple Recipes
Step 1: Prep the apples
Peel the apples, then cut them into quarters and remove the cores. Slice each quarter into thin slices about ¼ inch thick. Place the slices in a large mixing bowl so you can coat them evenly.
If you like more texture, cut some apples into small chunks and some into slices. That mix gives the filling a nice contrast between soft and slightly firm pieces.
Step 2: Mix the apple filling
Drizzle the melted butter, vanilla, lemon juice, and any apple cider over the apples. Sprinkle in brown sugar, cinnamon, nutmeg, cloves or allspice, flour or cornstarch, and a pinch of salt. Toss everything until the apples look evenly coated and no dry flour remains.
Taste one apple slice and adjust sugar or spices to your preference. Pour the apple mixture into a greased 9 by 9 inch baking dish and spread it into an even layer.
Step 3: Make the crisp topping
In a medium bowl, add oats, flour, brown sugar, cinnamon, and salt. Stir until the mixture looks uniform and no big sugar clumps remain. Add the cold butter cubes.
Use a pastry cutter or your fingers to work the butter into the dry ingredients. Stop when the mixture forms pea sized crumbs and some larger clumps. Stir in nuts or seeds and any dried fruit if you want extra texture.
Step 4: Assemble the apple crisp
Sprinkle the topping evenly over the apples in the baking dish. Cover the apples fully, but do not press the topping down too hard. Light pressure works best so the topping stays craggy and crisp.
Place the baking dish on a sheet pan if you worry about bubbling juices. That setup also makes it easier to move the dessert in and out of the oven.
Step 5: Bake until bubbly and golden
Heat the oven to 350°F while you assemble the crisp. Bake the apple crisp for 35 to 45 minutes, until the topping looks golden brown and the apple juices bubble around the edges. If the topping browns too quickly, tent the dish loosely with foil and keep baking until the apples feel tender when you poke them with a knife.
Once baked, set the dish on a cooling rack or trivet. Let the crisp rest at least 15 to 20 minutes so the filling thickens and the flavors settle.
Step 6: Serve and enjoy
Scoop the warm apple crisp into bowls. Add a scoop of vanilla ice cream or a spoonful of whipped cream if you want a classic touch. Sprinkle a little extra cinnamon on top for a bakery style look.
If you serve it later, reheat portions gently so the topping stays crisp and the apples warm through. My family claims the second day version tastes even better.
Variations I've Tried
-
Salted caramel apple crisp
Drizzle store bought or homemade caramel sauce over the apples before you add the topping. Sprinkle a tiny pinch of flaky salt on top after baking. This version tastes rich and works great for holidays. -
Apple cranberry crisp
Add 1 cup fresh or frozen cranberries to the apple filling and increase sugar by 1 to 2 tablespoons. The cranberries add bright tart flavor and a pretty ruby color. This version pairs nicely with vanilla ice cream or plain yogurt. -
Apple oat crumble bars
Press half the topping mixture into a parchment lined 8 by 8 inch pan to form a base. Spread the apple filling on top, then crumble the remaining topping over it. Bake until golden, cool fully, then slice into bars for lunch boxes or snacks. -
Skillet apple crisp
Cook the apple filling in a cast iron skillet on the stove until slightly tender. Add the topping over the apples in the same skillet and bake. This version saves dishes and looks rustic on the table. -
Apple cinnamon breakfast crisp
Cut the sugar in the filling and topping by about one third and add extra oats. Serve warm with Greek yogurt instead of ice cream. This version works as a cozy fall breakfast that still feels special.
How to Serve Fall Desserts Apple Recipes
Serve Fall Desserts Apple Recipes warm, with a scoop of vanilla ice cream, cinnamon ice cream, or a dollop of whipped cream. Add a drizzle of warm caramel sauce or a spoonful of plain yogurt if you want a lighter option. Pair the dessert with hot apple cider, chai, or a simple mug of coffee or tea.
You can also spoon the apple crisp over pancakes, waffles, or French toast for a weekend brunch. Leftover crisp tastes great cold straight from the fridge, though I still prefer a quick reheat.
How to store
-
Room temperature
- Keep the baked apple crisp covered at room temperature for up to 1 day if your kitchen stays cool.
- Use foil or a lid to keep the topping from drying out.
-
Refrigerator
- Store leftovers in an airtight container in the fridge for 3 to 4 days.
- Cool the crisp fully before covering so condensation does not make the topping soggy.
-
Freezer
- Freeze baked apple crisp, tightly wrapped, for up to 2 months.
- You can also freeze the unbaked apple filling and topping in separate bags, then assemble and bake straight from frozen with extra time.
-
Reheating
- Reheat single portions in the microwave in 20 to 30 second bursts until warm.
- For best texture, reheat larger portions in a 325°F oven for 10 to 15 minutes so the topping crisps back up.
- If the topping looks dry, cover loosely with foil for part of the reheating time, then uncover at the end.
Fall Desserts Apple Crisp
Ingredients
Instructions
- Peel the apples, then cut them into quarters, remove the cores, and slice each quarter into 1/4 inch thick slices. Place the slices in a large mixing bowl.
- Drizzle the melted butter, vanilla, lemon juice, and any apple cider over the apples. Sprinkle in the brown sugar, cinnamon, nutmeg, cloves or allspice, flour or cornstarch, and a pinch of salt.
- Toss until the apples are evenly coated and no dry flour remains. Taste a slice and adjust the sugar or spices to your liking.
- Grease a 9 x 9 inch baking dish, then spread the apple mixture into an even layer in the dish.
- In a medium bowl, combine the oats, flour, brown sugar, cinnamon, and salt. Stir until evenly mixed and free of large sugar clumps.
- Add the cold butter cubes. Use a pastry cutter or your fingers to work the butter into the dry ingredients until the mixture forms pea sized crumbs with some larger clumps.
- Stir in the chopped nuts and any dried fruit, if using, just until distributed.
- Sprinkle the topping evenly over the apples, covering them fully without pressing the topping down too firmly so it stays craggy and crisp.
- Place the baking dish on a sheet pan if you are concerned about bubbling juices spilling over.
- Heat the oven to 350°F (175°C). Bake the apple crisp for 35 to 45 minutes, until the topping is golden brown and the juices are bubbling around the edges.
- If the topping browns too quickly, tent the dish loosely with foil and continue baking until the apples are tender when pierced with a knife.
- Transfer the baked crisp to a cooling rack or trivet and let it rest for at least 15 to 20 minutes so the juices thicken and the slices hold together.
- Scoop the warm apple crisp into bowls and serve as is, or with vanilla ice cream, whipped cream, or a sprinkle of extra cinnamon.
Notes
Approximate per serving (1 of 8): 320 calories; fat 14 g; saturated fat 8 g; carbohydrates 48 g; fiber 4 g; sugars 29 g; protein 3 g; sodium 140 mg. Values are estimates and will vary based on exact apple variety, sugar amount, optional add-ins, and portion size. Storage: Keep covered at room temperature up to 1 day if your kitchen is cool. Refrigerate leftovers in an airtight container for 3 to 4 days, or freeze tightly wrapped for up to 2 months. Reheat in a 325°F oven for 10 to 15 minutes to re-crisp the topping, or use short microwave bursts for single servings.
Leave a Reply