
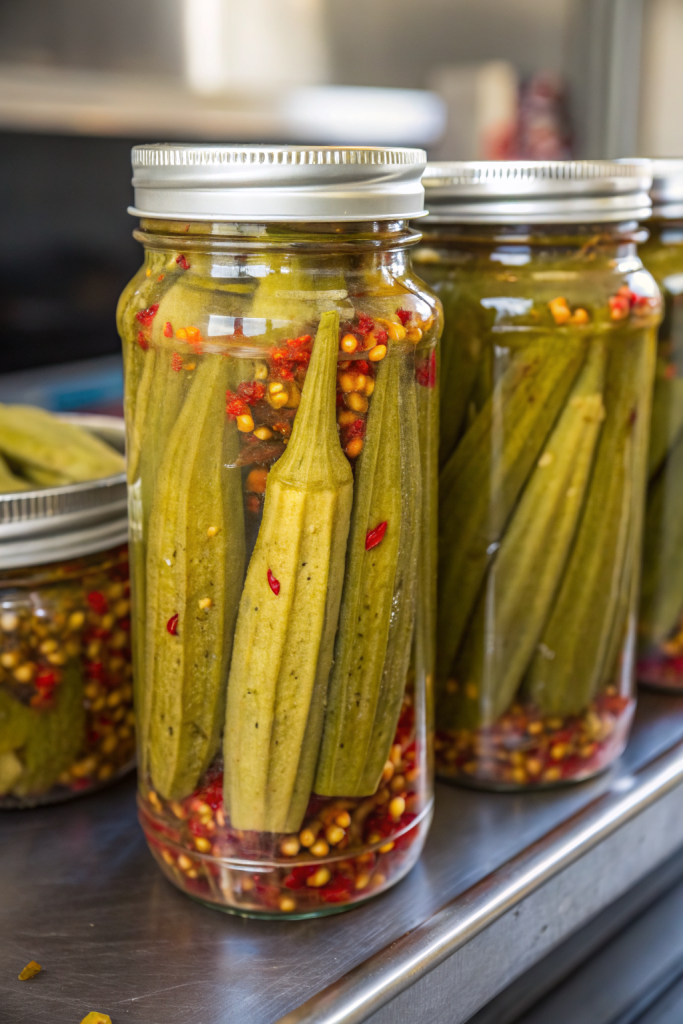
How to Pickle Okra tastes tangy, garlicky, a little spicy, and keeps that satisfying crunch that makes snack time way more fun. It works perfectly for busy home cooks who want a quick, make-ahead veggie project that takes about 20 to 30 minutes of hands-on time. I grew up in the South, so I basically measure summer by how many jars of pickled okra I can squeeze into my fridge.
Why You Should Try This How to Pickle Okra
Pickled okra tastes bright, salty, and slightly spicy, with a firm bite that never turns slimy. The brine tames the stronger okra flavor, so even okra skeptics usually convert after one crunchy spear.
You can snack on it straight from the jar, tuck it into sandwiches, or chop it into salads and grain bowls. The recipe uses simple pantry ingredients, so you can pull it together on a weeknight without a grocery marathon.
“This How to Pickle Okra recipe gives crisp pods, bold flavor, and zero slime, which makes it my go-to summer pickle every year. ★★★★★”
Ingredients You’ll Need
Fresh produce
- 1 ½ to 2 pounds small fresh okra pods
- Choose pods about 2 to 3 inches long for best crunch. Larger pods often turn tough and woody.
- 6 to 8 garlic cloves, peeled and lightly smashed
- 1 small yellow onion, sliced into thin half-moons (optional, but tasty bonus pickle)
- 2 to 3 fresh hot peppers, sliced into rings
- Jalapeño or serrano work great. Use Fresno peppers for milder heat.
Brine ingredients
- 3 cups distilled white vinegar (5% acidity)
- You can swap half with apple cider vinegar for a softer, fruity tang.
- 3 cups water
- 3 tablespoons kosher salt
- Use canning or kosher salt without additives. Table salt can turn the brine cloudy and too salty.
- 2 tablespoons sugar
- This does not make the pickles sweet. It just balances the sharp vinegar.
Spices for each quart jar
Adjust to taste, but this combo gives a classic Southern-style How to Pickle Okra flavor.
- 1 teaspoon mustard seeds
- 1 teaspoon black peppercorns
- ½ teaspoon coriander seeds (optional, but adds citrusy notes)
- ¼ teaspoon red pepper flakes
- 1 bay leaf
- 2 to 3 sprigs fresh dill or ½ teaspoon dried dill weed
- ¼ teaspoon celery seeds (optional, but great if you like old-school deli pickle flavor)
Pantry shortcuts and notes
- Use pre-peeled garlic to save time, but rinse it so it does not carry any off smells into the brine.
- Use pickling spice blend if you want a shortcut. Use 1 to 1 ½ teaspoons per quart jar instead of the individual spices.
- Use pickling vinegar or regular distilled white vinegar at 5% acidity. Do not dilute the vinegar more than the recipe states.
Equipment
- 4 clean pint jars or 2 quart jars with tight-fitting lids
- Use canning jars if you want to process them in a water bath.
- Small saucepan for brine
- Large bowl or colander for rinsing okra
- Tongs or clean chopsticks for packing jars
- Funnel (optional, but helpful)
- Clean towel and paper towels
Tips & Tricks
- Choose small, firm okra pods with bright green color and no dark spots.
- Use very fresh okra, ideally within a day or two of buying or picking it, to keep the texture crisp.
- Rinse and dry the okra thoroughly so extra water does not dilute the brine.
- Pack the okra standing upright with the stem side up so you can fit more in each jar.
- Trim only the very tip of the stem, and do not cut into the pod, or the seeds will leak and soften the texture.
- Heat the brine until the salt and sugar dissolve, then pour it hot over the okra to help infuse flavor faster.
- Leave a little headspace at the top of each jar so the brine can circulate and cover everything.
- Let the jars cool to room temperature before chilling so the glass does not crack.
- Wait at least 24 hours before eating, but 3 to 5 days gives deeper flavor and better crunch.
- Add more red pepper flakes or hot pepper slices if you like a fiery How to Pickle Okra.
- Use half white vinegar and half apple cider vinegar if you prefer a softer, rounder tang.
- Label jars with the date so you know when the flavor peaks and how long they sit.
How to Make How to Pickle Okra
Step 1: Prep the okra and jars
Rinse the okra under cool running water and gently rub away any dirt. Spread the pods on a clean towel and pat them completely dry. Trim just the dry, tough tip of the stem without cutting into the pod.
Wash your jars and lids with hot soapy water and rinse well. Dry them with a clean towel or let them air dry upside down. Set the jars on a folded towel so they stay stable while you pack them.
Step 2: Pack the jars
Drop garlic cloves, onion slices if using, and hot pepper rings into the bottom of each jar. Add mustard seeds, peppercorns, coriander seeds, red pepper flakes, bay leaf, dill, and celery seeds.
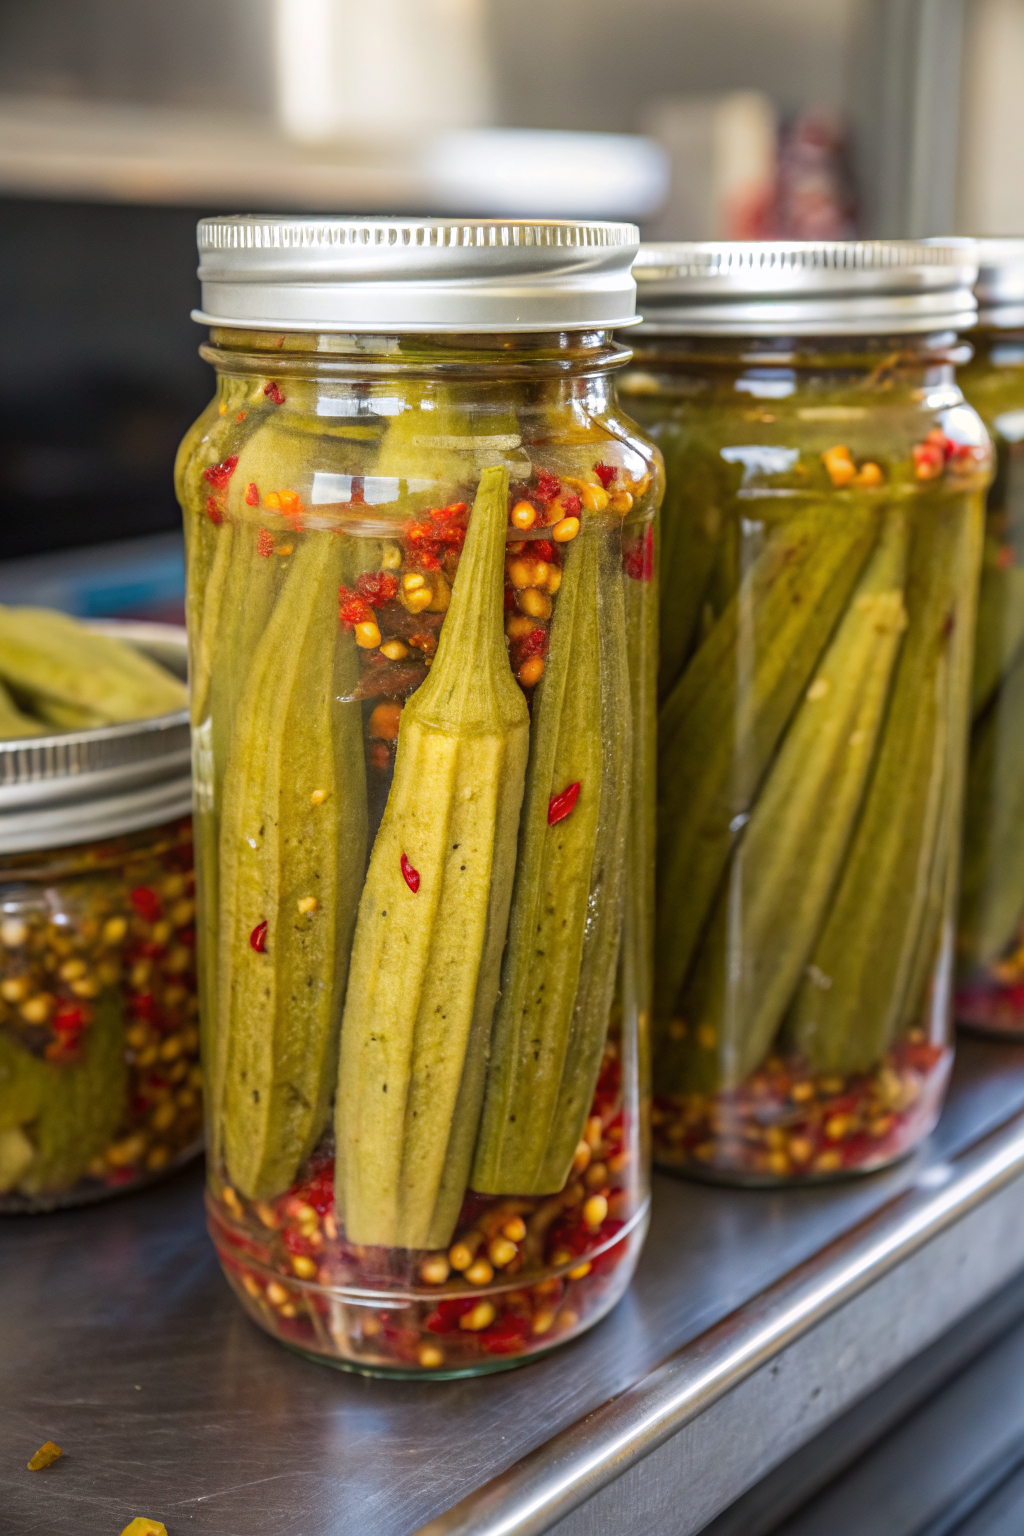
Stand the okra pods upright in the jars with the tapered tips pointing down and the stems up. Pack them snugly but avoid crushing them. Tuck in extra onion slices or pepper rings in any gaps.
Step 3: Make the brine
Pour vinegar, water, salt, and sugar into a small saucepan. Set the pan over medium heat and stir until the salt and sugar dissolve and the brine just starts to steam and bubble around the edges. Taste a spoonful once it cools slightly and adjust salt or sugar if needed.
Turn off the heat. You want the brine hot but not violently boiling. Keep it on the stove while you move to the next step so it stays warm.
Step 4: Add the brine to the jars
Use a funnel if you have one and pour the hot brine over the packed okra. Fill each jar so the brine covers the okra by at least ½ inch, while leaving about ½ inch of headspace at the top.
Tap the jars gently on the counter to release any air bubbles. Use a clean chopstick or butter knife to nudge around the edges and free trapped bubbles. Add a bit more brine if needed to keep everything submerged.
Step 5: Seal and cool
Wipe the rims of the jars with a clean damp towel so no spice or brine sits on the edges. Place the lids on and screw the bands down until fingertip tight.
Let the jars sit on the counter until they cool to room temperature. You might hear a light pop as the lids pull down, but treat these as refrigerator pickles unless you properly can them. Once cool, move the jars to the fridge.
Step 6: Let the flavor develop
Chill the jars at least 24 hours before you taste them. The okra will taste good after one day, but the flavor deepens a lot after 3 to 5 days. I usually stash them in the back of the fridge so I do not snack them all before they hit peak flavor.
Eat the pickled okra within 2 to 3 months for best crunch and color. The pods will soften slowly over time, but they still taste great in salads and cooked dishes.
What to Serve with How to Pickle Okra
Serve How to Pickle Okra straight from the jar as a crunchy snack or appetizer. Add it to veggie platters with hummus, ranch, or yogurt dip for a tangy contrast. Tuck spears into sandwiches, wraps, or burgers, or chop them into tuna salad, chicken salad, or pasta salad.
You can also slice pickled okra into rice bowls, grain bowls, or simple green salads for a salty, bright pop of flavor. I like to pair it with grilled chicken, roasted vegetables, or a pot of beans and cornbread for a simple Southern-style meal.
Storage Options
- Store the jars in the refrigerator and keep the okra fully submerged in brine. Use within 2 to 3 months for best texture and flavor.
- Always use a clean fork or tongs to remove okra so you keep the brine clear and safe.
- Do not freeze pickled okra, since freezing breaks down the cell structure and turns the texture mushy.
- If you want shelf-stable jars, use proper water-bath canning guidelines from a trusted source and follow tested ratios of vinegar, water, and salt.
How to Pickle Okra
Ingredients
Instructions
- Rinse the okra under cool running water, gently rubbing away any dirt. Spread the pods on a clean towel and pat completely dry.
- Trim just the dry, tough tip of the stem without cutting into the pod so the seeds do not leak out.
- Wash jars and lids with hot soapy water, rinse well, and dry. Set the jars on a folded towel to keep them stable while packing.
- Divide the garlic cloves, onion slices (if using), and hot pepper rings among the jars, placing them in the bottom.
- Add to each quart jar the mustard seeds, black peppercorns, coriander seeds if using, red pepper flakes, bay leaf, dill, and celery seeds if using.
- Stand the okra pods upright in the jars with the tapered tips pointing down and the stems up. Pack them snugly without crushing, tucking extra onion or pepper rings into gaps.
- Combine the vinegar, water, kosher salt, and sugar in a small saucepan.
- Set over medium heat and stir until the salt and sugar dissolve and the brine is hot and steaming, just beginning to bubble around the edges. Do not let it boil hard.
- Let a small spoonful cool slightly and taste, adjusting salt or sugar if needed.
- Using a funnel if you have one, pour the hot brine over the packed okra in each jar.
- Fill so the brine covers the okra by at least 1/2 inch while leaving about 1/2 inch headspace at the top of each jar.
- Tap the jars gently on the counter to release air bubbles, and use a clean chopstick or butter knife to nudge around the edges and free trapped bubbles. Top off with more brine if needed to keep everything submerged.
- Wipe the rims of the jars with a clean damp towel to remove any brine or spices.
- Place the lids on and screw the bands on until fingertip tight.
- Let the jars cool at room temperature. Once cool, transfer them to the refrigerator.
- Chill the jars for at least 24 hours before eating. For the best flavor and crunch, wait 3 to 5 days.
- Serve the pickled okra straight from the jar as a snack or appetizer, on veggie platters with dips, tucked into sandwiches and burgers, or chopped into salads, grain bowls, or tuna and chicken salads.
- Keep the okra fully submerged in brine and enjoy within 2 to 3 months for best texture and color.
Notes
Approximate per serving (1 spear or about 1 ounce), based on about 24 servings: 10–15 calories; fat 0 g; saturated fat 0 g; carbohydrates 2–3 g; fiber 1 g; sugars 1–2 g; protein 0–1 g; sodium 150–220 mg. Values will vary based on exact jar size, salt brand, and portion size.
Leave a Reply