
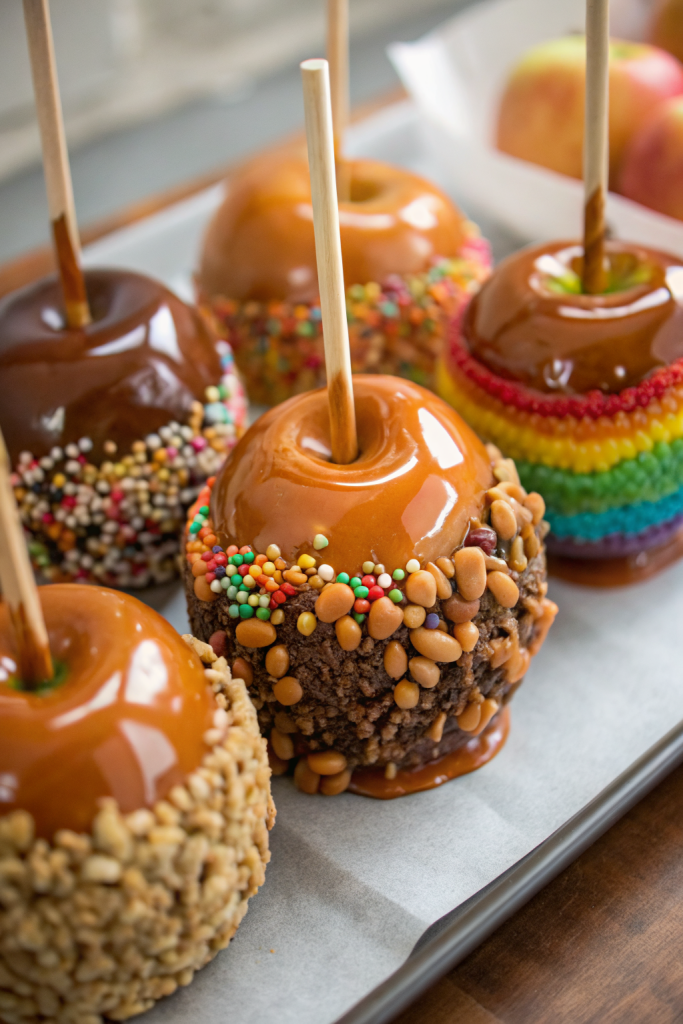
How to Make Caramel Apples tastes like a crisp fall fair in your kitchen: buttery caramel, tart apples, and that perfect chewy crunch. It works great for families, parties, bake sales, or anyone who wants a fun dessert in about 45–60 minutes start to finish. I still get caramel on my elbows every time, so you’re in good company here.
Why You Should Try This How to Make Caramel Apples
Homemade caramel apples beat store‑bought every time because you control the flavor, the toppings, and the quality of ingredients. You get that glossy, chewy caramel shell with a juicy, cold apple inside, and it feels like a treat and a project all in one.
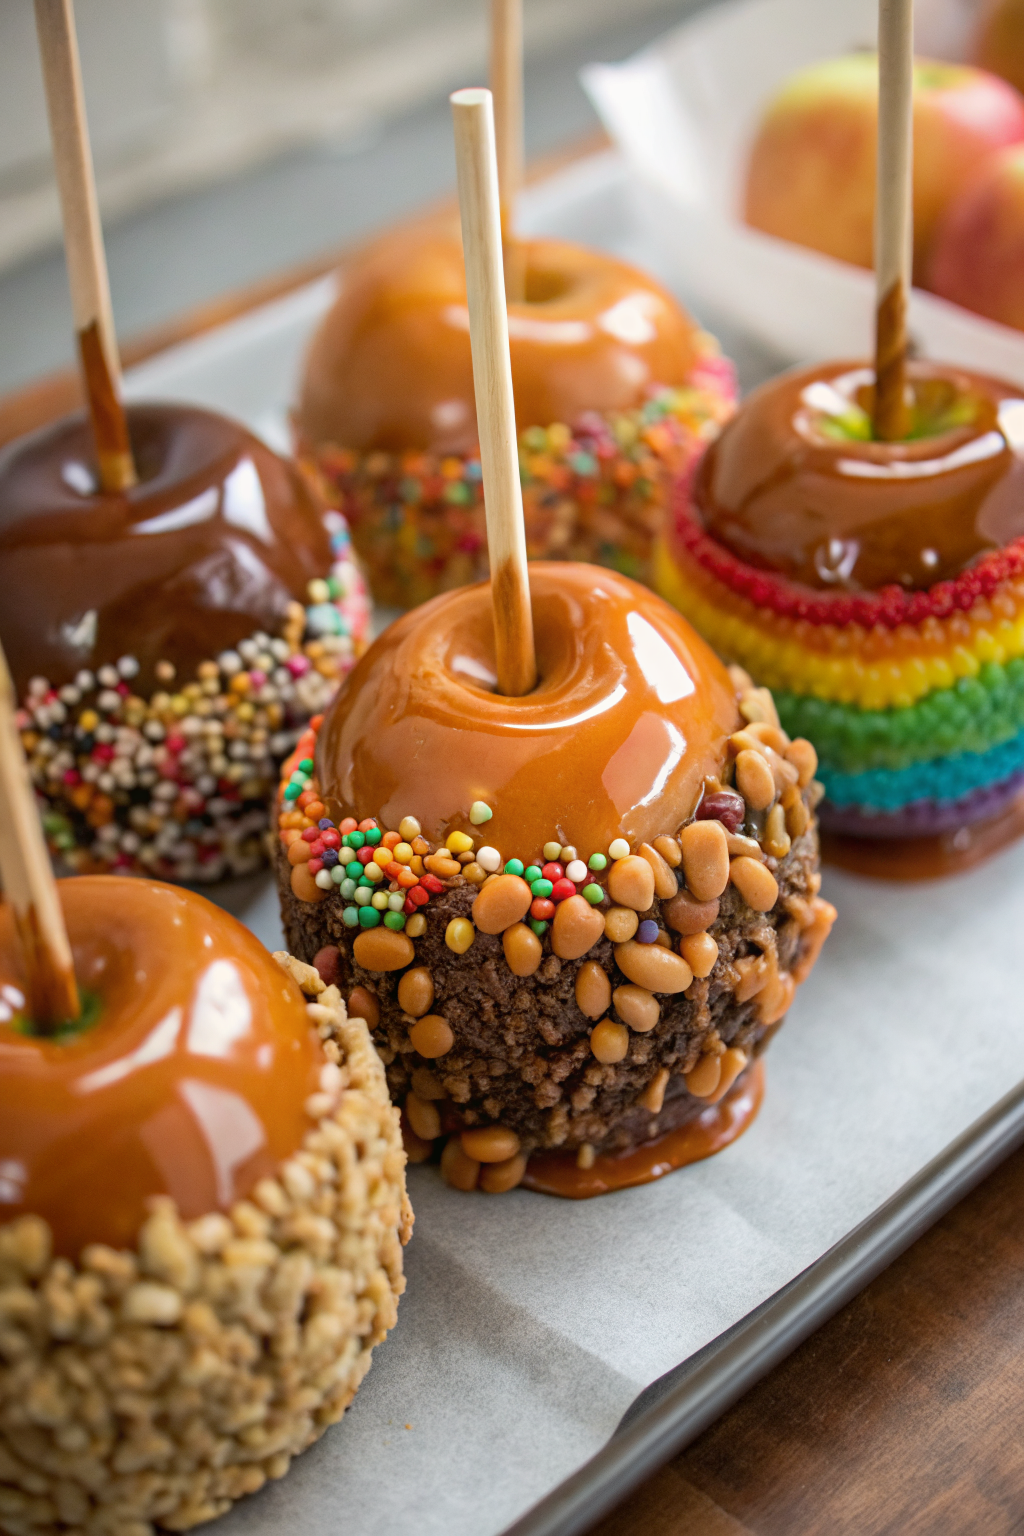
Kids love decorating them, adults love eating them, and they look impressive on a dessert table. You can keep them simple with just caramel or go wild with crushed cookies, chopped nuts, or mini chocolate chips.
“These homemade caramel apples taste like a county fair classic, only fresher, richer, and way more fun to decorate. ★★★★★”
Ingredients You’ll Need
Apples
- 8 small to medium apples
- Granny Smith: classic choice, tart flavor balances sweet caramel
- Honeycrisp or Fuji: sweeter and very juicy
- Gala or Pink Lady: milder flavor, great for kids
- Choose firm apples with no bruises. Smaller apples coat easier and feel less heavy to eat.
Caramel
You can use homemade caramel or a shortcut.
Homemade caramel ingredients:
- 1 cup packed light brown sugar
- 1 cup granulated sugar
- 1 cup unsalted butter (2 sticks)
- 1 cup heavy cream
- 1 cup light corn syrup
- 1 teaspoon vanilla extract
- 1 teaspoon fine sea salt or kosher salt
This version gives a rich, buttery flavor and a nice chewy texture that sets well.
Shortcut caramel option:
- 1 (14 oz) bag soft caramel candies
- 2–3 tablespoons heavy cream or whole milk
This option works great when you feel short on time or energy. I like Werther’s soft caramels or Kraft caramels because they melt smoothly.
Toppings (optional but highly encouraged)
Pick 3–6 toppings and pour each into a shallow bowl.
- Chopped roasted peanuts or pecans
- Mini chocolate chips
- Crushed pretzels
- Crushed Oreos or other cookies
- Toasted shredded coconut
- Sprinkles
- Crushed graham crackers
- Sea salt flakes
Sticks
- 8 wooden sticks
- Craft sticks, popsicle sticks, or sturdy skewers
- You can also use cinnamon sticks for a fun flavor twist if you have them
Equipment
- Heavy‑bottomed saucepan (3‑quart or larger)
- Candy thermometer (strongly recommended)
- Wooden spoon or heatproof silicone spatula
- Baking sheet
- Parchment paper or silicone baking mat
- Small sharp knife or metal skewer (to start holes in apples)
- Bowls for toppings
- Measuring cups and spoons
Tips & Tricks
- Use cold, crisp apples; they hold the caramel better and taste more refreshing.
- Wash apples in hot water and dry them very well to remove wax so the caramel sticks.
- Push the sticks in firmly through the stem end so the apples feel secure.
- Line your baking sheet with parchment, not foil, to prevent sticking.
- Keep the caramel at a gentle simmer so it thickens without scorching.
- Stir the caramel often and scrape the bottom of the pan to avoid burning.
- Use a candy thermometer and cook to about 240–245°F for a chewy coating.
- Tilt the pot and roll the apple through the caramel instead of dunking it straight down.
- Let excess caramel drip off, then scrape the bottom of the apple on the rim of the pot.
- Add toppings right after dipping while the caramel still feels warm and sticky.
- If the caramel thickens too much, warm it gently over low heat and stir until smooth.
- Keep finished apples in the fridge so the caramel sets firm and stays safe to eat.
How to Make How to Make Caramel Apples
Step 1: Prep the apples
Rinse the apples in hot tap water and rub them with a clean towel to remove any wax. Dry them completely; moisture makes the caramel slide off. Twist off the stems.
Use a small knife or metal skewer to poke a starter hole in the top of each apple. Push a wooden stick into each apple through the stem end until it feels snug and stable. Set the apples on a parchment‑lined baking sheet and chill them in the fridge while you make the caramel.
Step 2: Set up the dipping station
Line a large baking sheet with parchment or a silicone mat. Lightly grease the parchment with a tiny bit of butter or neutral oil if you worry about sticking.
Pour each topping into its own shallow bowl. Place the toppings, the lined tray, and the chilled apples near the stove so you can work quickly once the caramel reaches the right stage.
Step 3: Make the caramel from scratch (stovetop method)
Add brown sugar, granulated sugar, butter, heavy cream, corn syrup, and salt to a heavy saucepan. Set the pan over medium heat and stir until the butter melts and the mixture looks smooth.
Clip a candy thermometer to the side of the pan, with the tip in the caramel but not touching the bottom. Let the mixture come to a gentle boil, then reduce the heat slightly so it bubbles steadily but not violently. Stir often and cook until the caramel reaches 240–245°F, which usually takes about 12–18 minutes.
Once it hits temperature, remove the pan from the heat. Stir in the vanilla extract. Let the caramel sit for 3–5 minutes so it thickens slightly; you want it thick enough to cling to the apples but still fluid.
Step 3 (shortcut): Melt caramel candies
If you use caramel candies, unwrap them and place them in a saucepan with 2 tablespoons of heavy cream or milk. Set the pan over low to medium‑low heat.
Stir constantly until the candies melt and the mixture turns smooth and glossy. If it looks too thick for dipping, add another splash of cream. Keep the heat low so the caramel does not scorch.
Step 4: Dip the apples
Take the chilled apples out of the fridge. Hold an apple by the stick and tilt the pot of caramel slightly. Dip the apple into the caramel and rotate it slowly so the caramel coats it evenly up to the top.
Lift the apple out and let the excess drip back into the pot. Gently scrape the bottom of the apple along the rim of the pan so you avoid a huge caramel puddle. Place the apple on the prepared baking sheet.
Step 5: Add toppings
While the caramel still feels warm and tacky, roll the apple in your chosen toppings or sprinkle them over the surface. Press larger pieces like nuts or cookie chunks lightly so they stick.
Work one apple at a time so the caramel does not set before you decorate it. Set each finished apple back on the lined tray. If the caramel starts to firm up in the pot, warm it gently over low heat and stir until it loosens again.
Step 6: Let the caramel apples set
Place the tray of dipped apples in the fridge for at least 30 minutes so the caramel firms up. If you plan to wrap them individually, let them chill until completely set and no longer tacky.
Once set, you can serve them cold or let them sit at room temperature for 10–15 minutes to soften slightly. I like a bit of chill because it gives that satisfying snap when you bite in.
What to Serve with How to Make Caramel Apples
Serve caramel apples as part of a fall dessert spread with apple crisp, pumpkin bars, or simple chocolate chip cookies. They pair nicely with hot drinks like apple cider, hot chocolate, chai, or a strong cup of coffee. You can slice the apples into wedges for easier sharing, especially for kids.
They also work well as a party activity: set up a dipping bar with apples, warm caramel, and bowls of toppings, then let everyone decorate their own. Just keep a stack of napkins nearby, because sticky fingers happen.
Storage Options
- Store caramel apples in the fridge on a parchment‑lined tray, loosely covered, for up to 3–4 days.
- If you want to wrap them, use cellophane or plastic wrap after the caramel sets completely so it does not smear.
- Avoid freezing caramel apples; the texture of both apple and caramel turns icy and unpleasant.
- To soften chilled caramel apples slightly, let them sit at room temperature for 10–15 minutes before serving or slicing.
How to Make Caramel Apples
Ingredients
Instructions
- Rinse the apples in hot tap water and rub them with a clean towel to remove any wax. Dry them completely and twist off the stems.
- Use a small knife or metal skewer to poke a starter hole in the top of each apple. Push a wooden stick into each apple through the stem end until it feels snug and stable. Set the apples on a parchment-lined baking sheet and chill them in the fridge while you make the caramel.
- Line a large baking sheet with parchment or a silicone mat. Lightly grease the parchment if you worry about sticking. Pour each topping into its own shallow bowl and set them near the stove with the lined tray and chilled apples.
- To make homemade caramel, add the brown sugar, granulated sugar, butter, heavy cream, corn syrup, and salt to a heavy-bottomed saucepan. Set over medium heat and stir until the butter melts and the mixture looks smooth.
- Clip a candy thermometer to the side of the pan. Bring the mixture to a gentle boil, then reduce the heat slightly so it bubbles steadily. Stir often and cook until the caramel reaches 240–245°F, about 12–18 minutes.
- Remove the pan from the heat and stir in the vanilla extract. Let the caramel sit for 3–5 minutes so it thickens slightly but is still fluid enough to coat the apples.
- For the shortcut caramel option, place unwrapped caramel candies and 2 tablespoons of heavy cream or milk in a saucepan. Heat over low to medium-low, stirring constantly until melted and smooth, adding another splash of cream if too thick.
- Take the chilled apples out of the fridge. Hold an apple by the stick and tilt the pot of caramel slightly. Dip the apple into the caramel and rotate slowly to coat it evenly up to the top.
- Lift the apple out and let excess caramel drip back into the pot, then gently scrape the bottom of the apple along the rim of the pan to avoid a large puddle. Place the apple on the prepared baking sheet.
- While the caramel is still warm and tacky, roll the apple in your chosen toppings or sprinkle them over, pressing larger pieces lightly so they stick. Work one apple at a time. If the caramel in the pot thickens too much, warm it gently over low heat and stir until smooth again.
- Place the tray of dipped apples in the fridge for at least 30 minutes, or until the caramel is firm and no longer tacky. Serve chilled or let sit at room temperature for 10–15 minutes to soften slightly before eating or slicing.
Notes
Approximate per caramel apple (using homemade caramel, without toppings): 420 calories; fat 22 g; saturated fat 14 g; carbohydrates 56 g; fiber 3 g; sugars 50 g; protein 2 g; sodium 260 mg. Values will vary based on apple size, caramel method, toppings, and portion size.
Leave a Reply